MELOOM

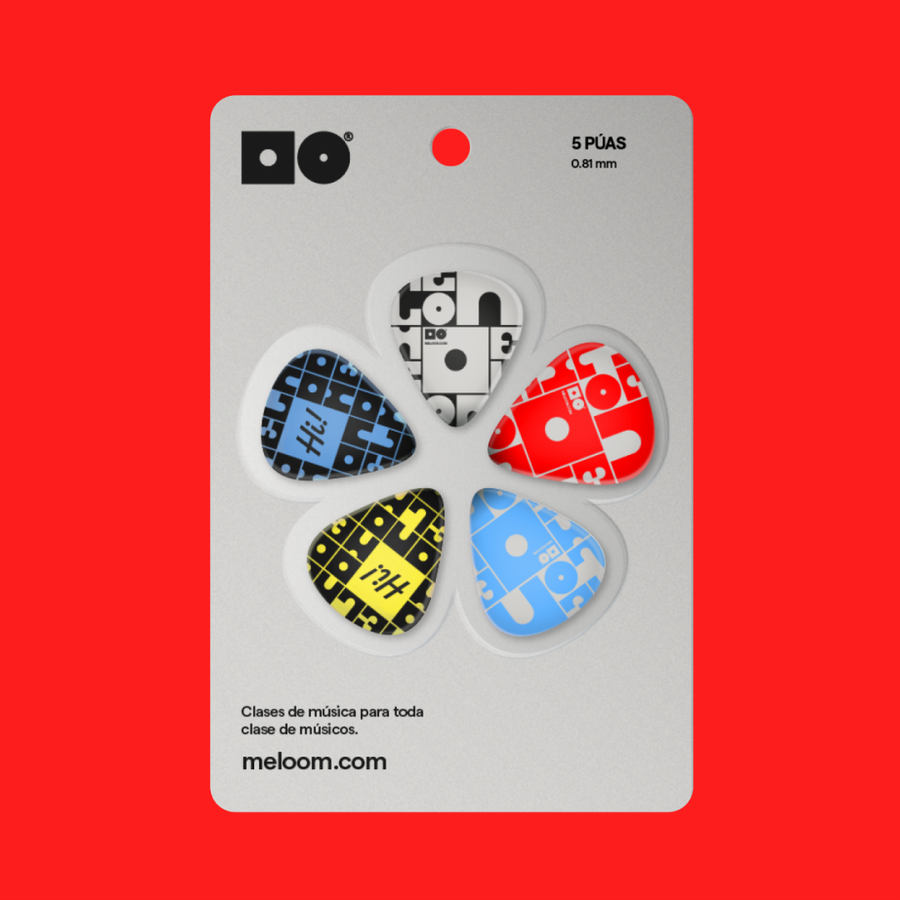
MELOOM — image 1 by Victor Lavega
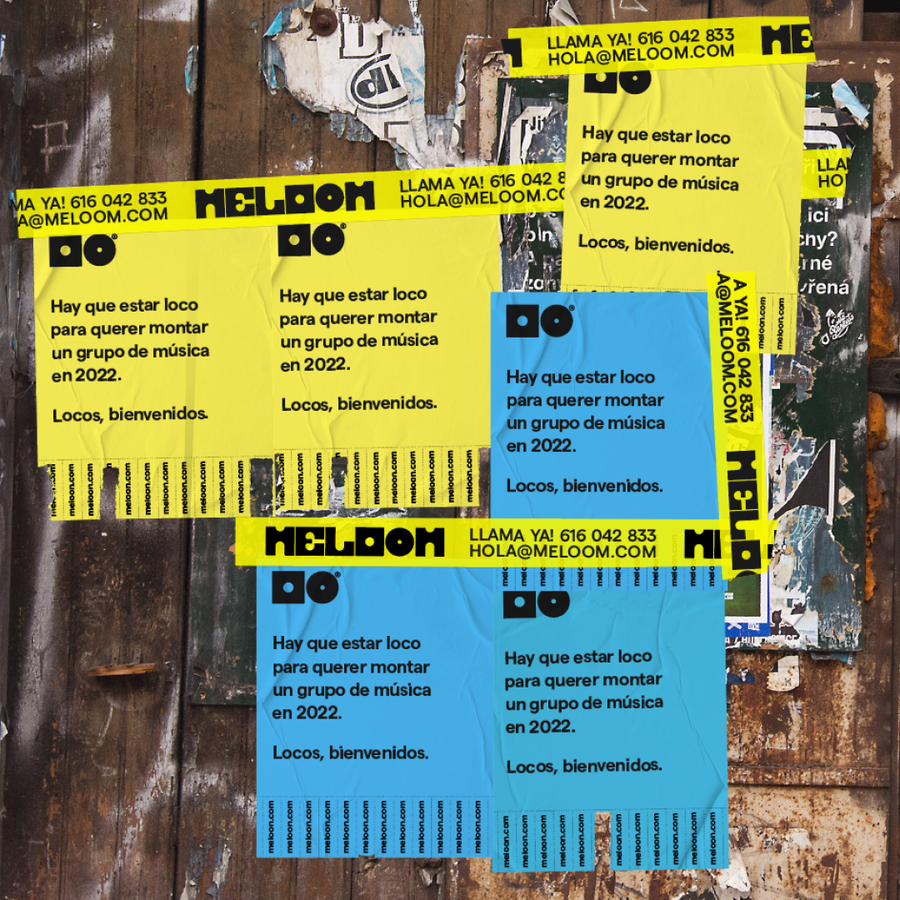
MELOOM — image 2 by Victor Lavega
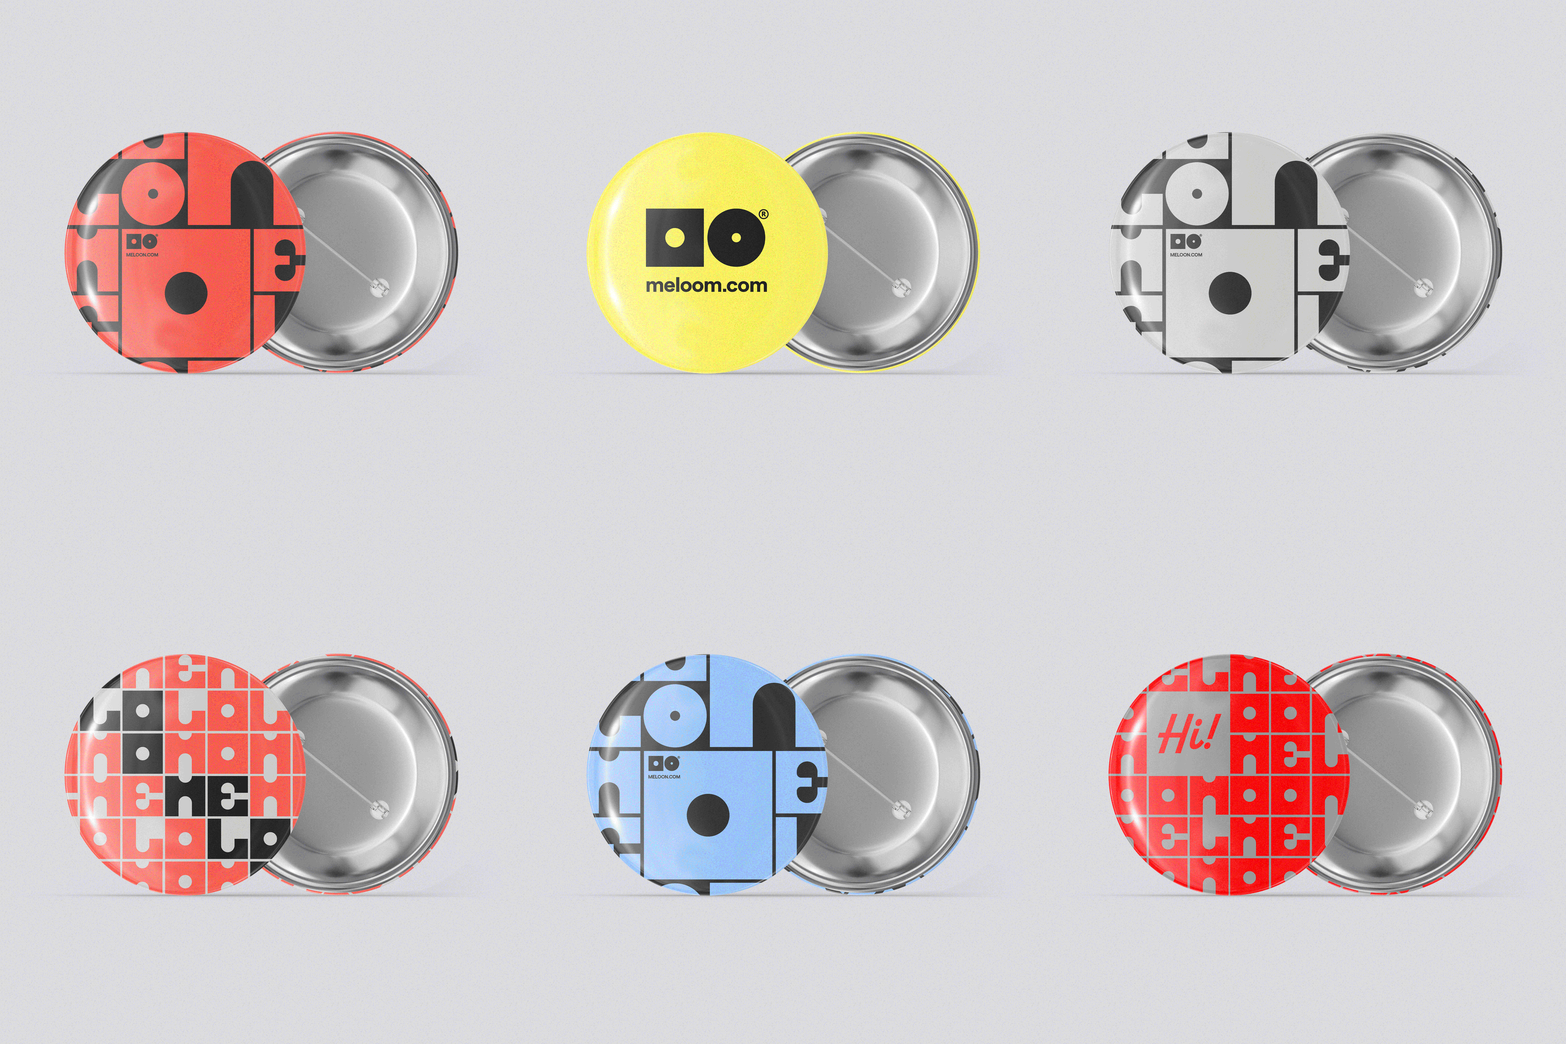
MELOOM — image 3 by Victor Lavega
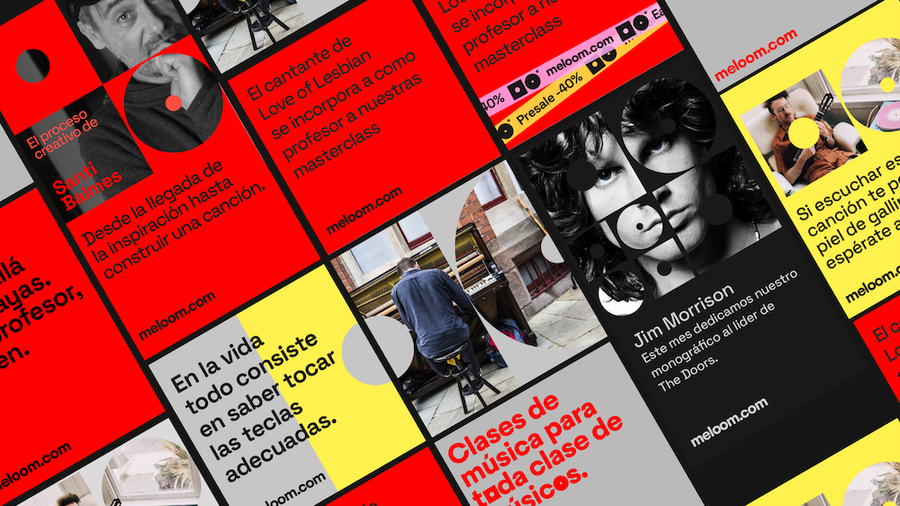
MELOOM — image 4 by Victor Lavega
MELOOM — image 5 by Victor Lavega
MELOOM — image 9 by Victor Lavega